Paving Contractor Scheduling: a Practical Field Guide

You’ve got three commercial jobs lined up, a fourth client calling about a start date, and your best crew just hit a weather delay on a parking lot that was supposed to wrap yesterday. Sound familiar? For commercial paving contractors across the US and Canada, scheduling isn’t just an admin task. It’s the difference between a profitable season and one spent chasing lost time. This guide to paving contractor scheduling breaks down what experienced operators actually do to keep projects on track, crews productive, and clients informed from the first booking call to the final pass of the roller.
Key takeaways
Guide to paving contractor scheduling: prerequisites first
Before a single crew member sets foot on site, your schedule needs a solid foundation. Rushing into booking without assessing project scope, site conditions, and customer access requirements is where most delays actually begin.
Start by evaluating the full scope during your site visit. Does the job require subbase work, drainage corrections, or demolition? Low bids often miss scope items like base prep and drainage, which cause schedule disruptions later. Getting this right upfront keeps your timeline honest.
Here’s a quick reference for common prerequisites and realistic lead times (all numbers below are purely directional based on what we’ve seen).
For overall project booking, plan 3 to 6 weeks in advance under normal conditions. During peak season from May through September, some commercial clients need to book months out to secure contractor availability and favorable weather windows. The best time to start planning is late winter to early spring, before the rush hits and while you can still assess any winter damage to existing surfaces.
Weather planning is its own category here. Asphalt requires ambient air temperatures of at least 50°F for proper compaction, with 60-80°F being ideal. Build your scheduling windows around reliable temperature forecasts, not just calendar dates. Check regional paving season start times with a regional season breakdown to calibrate your booking calendar.
Pro Tip: When scheduling multiple commercial jobs back to back, always confirm plant hours and mix availability before committing to client start dates. A mix supply gap can stall your entire sequence.
Building a realistic paving project timeline
With prerequisites covered, the next step is constructing a schedule that holds up under real-world pressure. This means defining milestones clearly, coordinating every moving part, and building in enough cushion that one hiccup doesn’t cascade into a week of rescheduling.
Here’s a step-by-step framework that top contractors use to build their paving project timelines:
- Define project milestones. Break each job into phases: site prep, subbase work, binder course, surface course, and curing period. Assign a realistic duration to each based on crew size and equipment.
- Map crew and equipment availability. Cross-reference your crew schedule and equipment calendar before confirming any milestone dates with clients. Conflicts found late cost far more than those caught early.
- Confirm material delivery windows. Asphalt temperature drops roughly 5°F per mile during transport, so plant proximity directly affects your ability to schedule pours and meet compaction targets. Book deliveries as close to paving start times as possible.
- Add weather buffer days. A single 2-day weather delay can trigger multi-day equipment rental extensions and force full crew rescheduling. Industry leaders routinely build weather cushions into schedules to protect margins and quality consistency.
- Schedule client communication touchpoints. Set specific check-in dates for pre-mobilization confirmation, mid-project status updates, and final walkthrough. Clear client communication workflows reduce last-minute scope changes dramatically.
- Batch similar jobs where possible. Grouping comparable projects by location or crew specialty cuts travel time and lets crews build a rhythm. This is a proven strategy for improving margins without adding headcount.
Comparing scheduling approaches helps you pick the right method for your operation:
For a deeper look at software tools built for this work, the asphalt paving scheduling software overview covers the top options for commercial contractors.
Pro Tip: Don’t schedule back-to-back paving days without at least one contingency day per every three days of active paving. Experienced contractors avoid that pattern to manage both weather variability and crew fatigue.
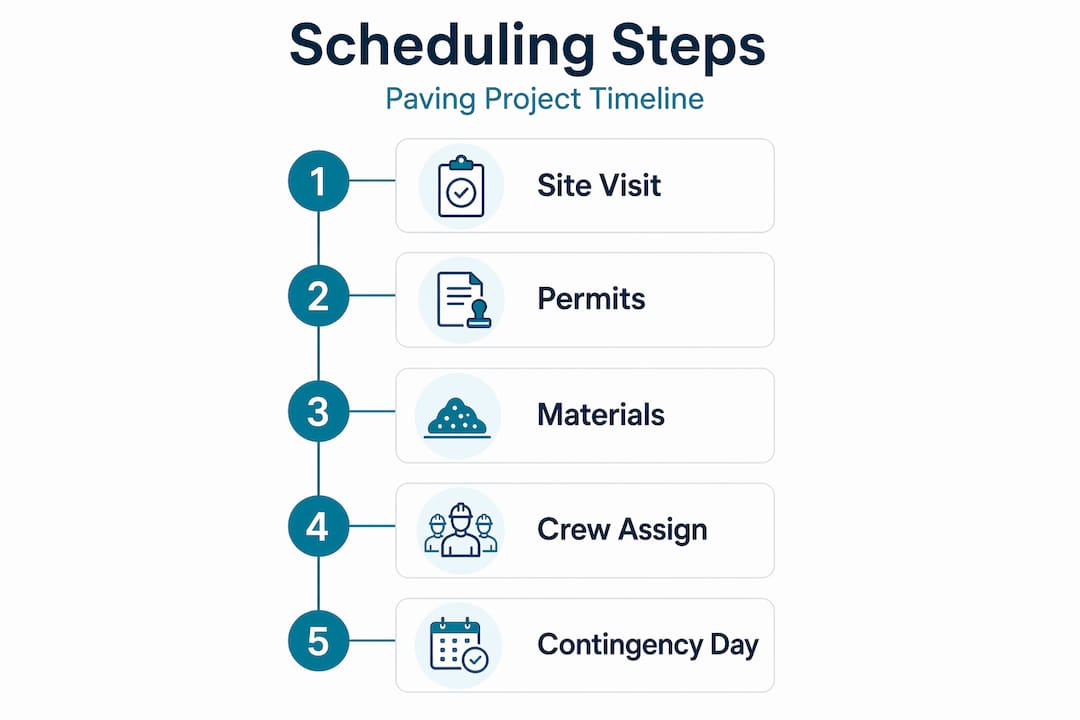
Common scheduling pitfalls in commercial paving
Even experienced contractors make the same scheduling mistakes repeatedly, often because the mistakes are invisible until they’ve already cost you time and money.
- Underestimating peak season lead times. Booking a month out in July when your plant and subcontractors are already slammed is a recipe for start date failures. Starting planning early gives you better pricing, availability, and far fewer disruptions.
- Ignoring temperature floors. Scheduling a pour when overnight lows are creeping toward 50°F sounds workable until the mix arrives stiff and compaction suffers. Asphalt below 185°F is too stiff to compact effectively. Bad compaction means premature failures and expensive warranty callbacks.
- Skipping scope verification before scheduling. If demolition or drainage work wasn’t in your original estimate, discovering that mid-project destroys your timeline. Review your paving contract components to make sure all scope items are locked before you set dates.
- Poor communication with clients and suppliers. Last-minute changes from clients who didn’t know access times were critical, or surprises from suppliers about delivery windows, are almost always a communication failure. Set expectations in writing at booking.
- Rushing curing time to meet client requests. Asphalt is ready for light vehicle traffic within 24 to 48 hours, but full curing takes longer. Agreeing to unrealistic opening timelines under client pressure is a shortcut to pavement damage and reputation risk.
Pro Tip: When a client pushes for an earlier start date than your schedule allows, give them a specific explanation tied to temperature forecasts or crew availability. Clients who understand the “why” almost always accept a realistic date.
Measuring scheduling success after the job
The work isn’t finished when the last truck leaves the site. Reviewing how your schedule performed is what separates contractors who keep improving from those who repeat the same problems every season.
After each commercial job, track these outcomes:
- Actual vs. planned timeline. Note which phases ran long and identify whether the cause was weather, crew, equipment, or material supply. Patterns across multiple jobs will tell you where your estimates are consistently off.
- Resource utilization and downtime. How many hours were crews waiting on deliveries or equipment? Idle time is a direct scheduling cost.
- Client feedback on schedule management. Ask explicitly whether clients felt informed throughout the project. This data shapes how you communicate on future jobs.
- Maintenance scheduling for the finished surface. Connecting clients to a pavement maintenance schedule after project completion builds long-term relationships and repeat bookings. It also protects the quality of your work over time.
For a broader view of how to manage these reviews systematically, the paving project management best practices guide covers the full lifecycle.
Take control of your schedule with OneCrew
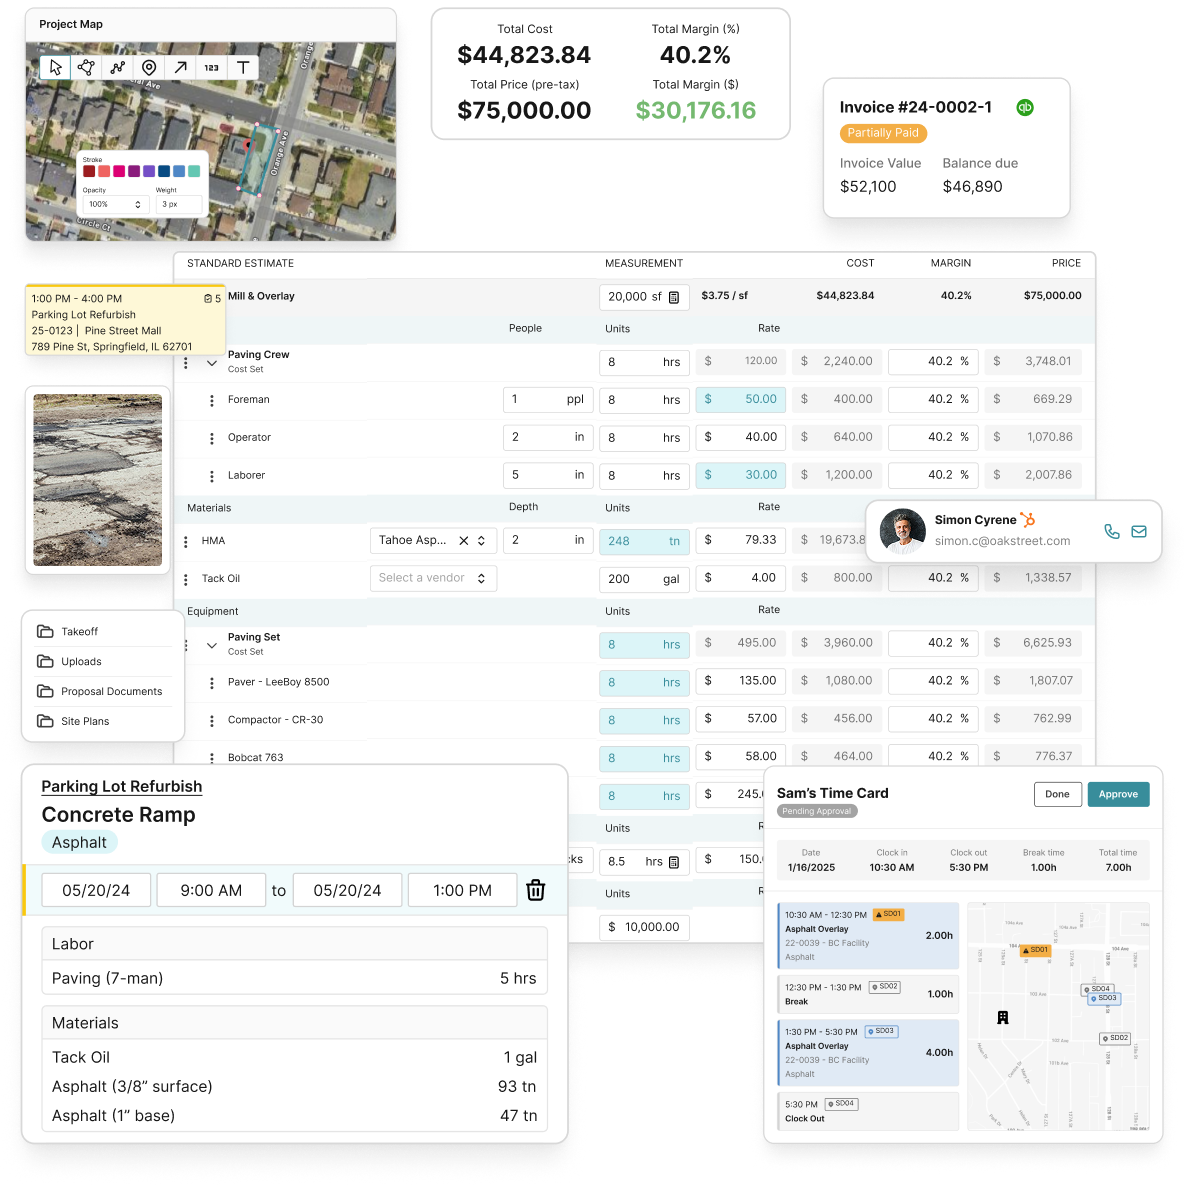
If you’re managing multiple commercial jobs across different crews and still relying on spreadsheets or a whiteboard, the gaps in your schedule are costing you real money. OneCrew’s drag-and-drop scheduling tool was built specifically for paving contractors who need to coordinate crew availability, equipment, material deliveries, and weather buffers in one place. You get real-time visibility across all active projects, milestone tracking, and conflict alerts before they become delays. No more discovering a crew double-booking the morning of. OneCrew puts your entire operation on a single screen so you can plan smarter, communicate faster, and finish jobs on time. Book a demo to see your whole schedule on one screen.
FAQ
How far in advance should commercial paving be scheduled?
Most commercial paving projects should be booked 3 to 6 weeks in advance under normal conditions. During peak season from May through September, securing your contractor and preferred dates often requires planning several months ahead.
What temperature is required for asphalt paving?
Ambient air temperature needs to be at least 50°F for asphalt paving, with 60 to 80°F being ideal for compaction quality. Asphalt mix that drops below 185°F becomes too stiff to compact effectively, so both air temperature and transport time directly affect your scheduling decisions.
What causes the most commercial paving schedule delays?
Weather is the most common cause, but poor scope definition, inadequate lead times during peak season, and supplier communication gaps are close behind. Building buffer days into your schedule and verifying full project scope before setting dates prevents most delays.
What should a paving contractor scheduling checklist include?
A solid checklist covers permit timing, material ordering, equipment and crew availability confirmation, client access notifications, weather window verification, and defined milestone dates for each project phase. Reviewing this checklist before committing to any start date keeps surprises to a minimum.
How does scheduling software help paving contractors?
Scheduling software built for paving contractors gives you real-time resource allocation visibility, automated conflict detection, and milestone tracking across multiple jobs simultaneously. It replaces manual coordination across spreadsheets and phone calls with a single source of truth your whole team can access.